
Upload and download files
How to interact with the local filesystem using the JNLP Runner extension
For a deeper dive into how file systems work in CheerpJ, check out the File System explanation guide .
The extension gives Java Web Start applications a virtual filesystem, so they can read and write files inside the browser’s sandbox. The browser doesn’t let it reach your disk directly, so files move in by upload and out by download.
Uploading files

To import a file from your local machine to the virtual filesystem, you can use either the built-in file picker or the extension side panel. In both cases, the files will be placed in the /files/uploads/ virtual directory. Inside the Java application, you can navigate to /files/uploads/ to open or use these files.
Using the built-in file picker:
The upload icon (an upward arrow) is present as part of the title bar on any Java window, frame, or File Dialog that opens.
- Click the upload icon in the title bar.
- Select a file from your local file system (your machine).
- In the File Dialog, navigate to
/files/uploads/and select the file to load it into the application.
Using the extension side panel:
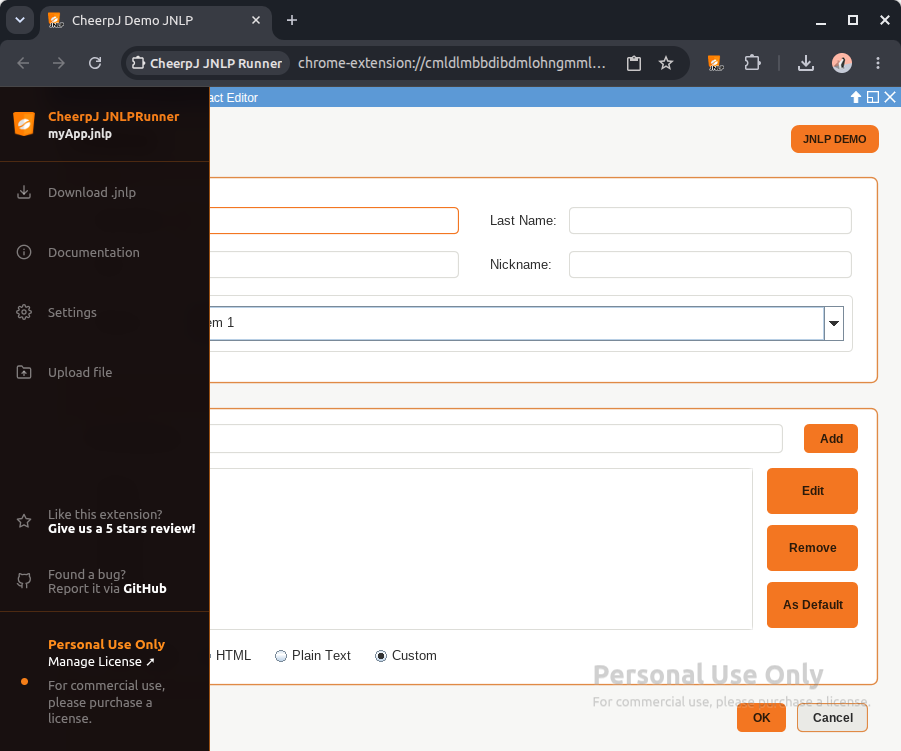
Alternatively, you can upload files directly from the extension side panel that appears on the left side of the screen while an application is running.
-
Ensure the Java application is currently running.
-
Hover over the side panel to expand it and click Upload file.
-
Select the file(s) from your local filesystem.
Downloading files
To get a file out of the application, save it in the /files/downloads/ virtual directory. The browser downloads every file saved there, usually to your Downloads folder.
Using a standard save dialog:
If you use a “Save” File Dialog and choose a path under /files/downloads/, the browser will automatically trigger a download once the save operation is complete.